

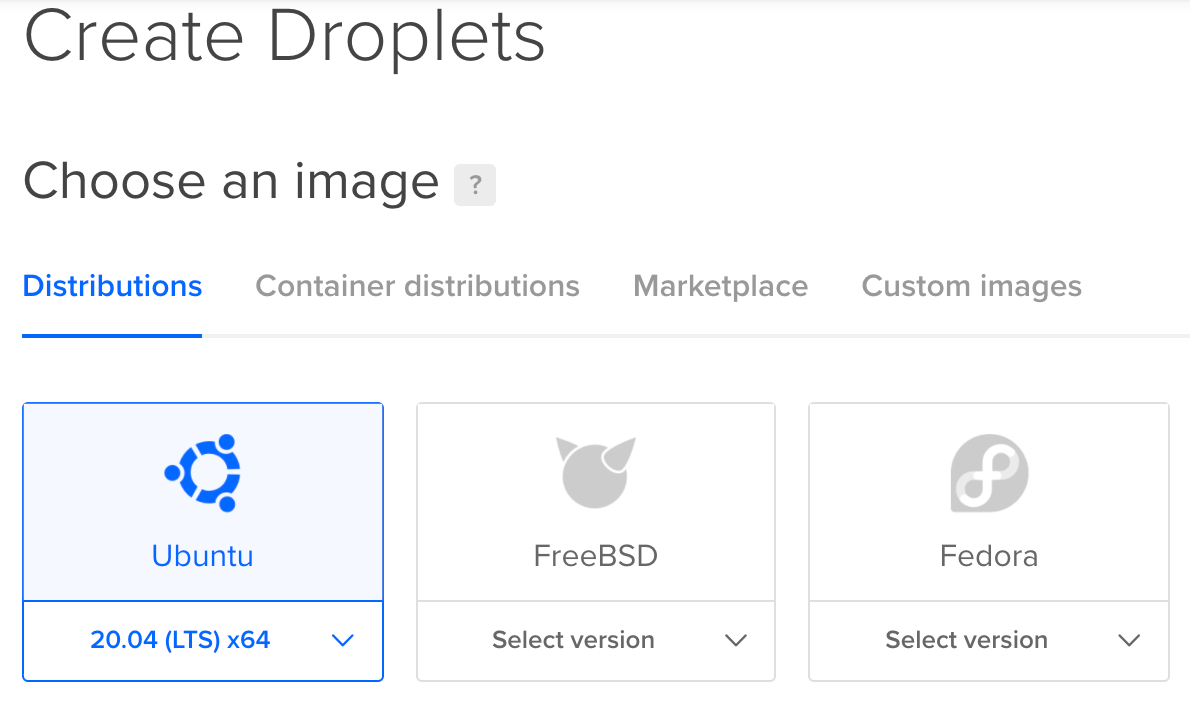
Odoo 15 is finally released and one of the best ways to try it is to quickly spin up a server on DigitalOcean with the 100€ free credits and destroy the droplet when you finished. But, following this tutorial you could also keep your server up and running and use it for production! In this tutorial, we will deploy a production-ready Odoo 15 instance on a Ubuntu 20.04 (LTS) x64 Droplet. I will not go over the DigitalOcean registration process as it was already covered in this tutorial about installing Odoo 14.
DigitalOcean offers you 100€ credit to use in 6 months since you can create machines and destroy them quickly it's a great place to experiment with Odoo installs or to choose it as your production server!
Ubuntu 20.4 Prerequisites
Now that we are connected to our new machine we will do the usual maintenance of updating and upgrading packages.
apt update
apt upgrade -y
If you created a DigitalOcean Droplet and run into a message saying that the sshd_config has been modified:
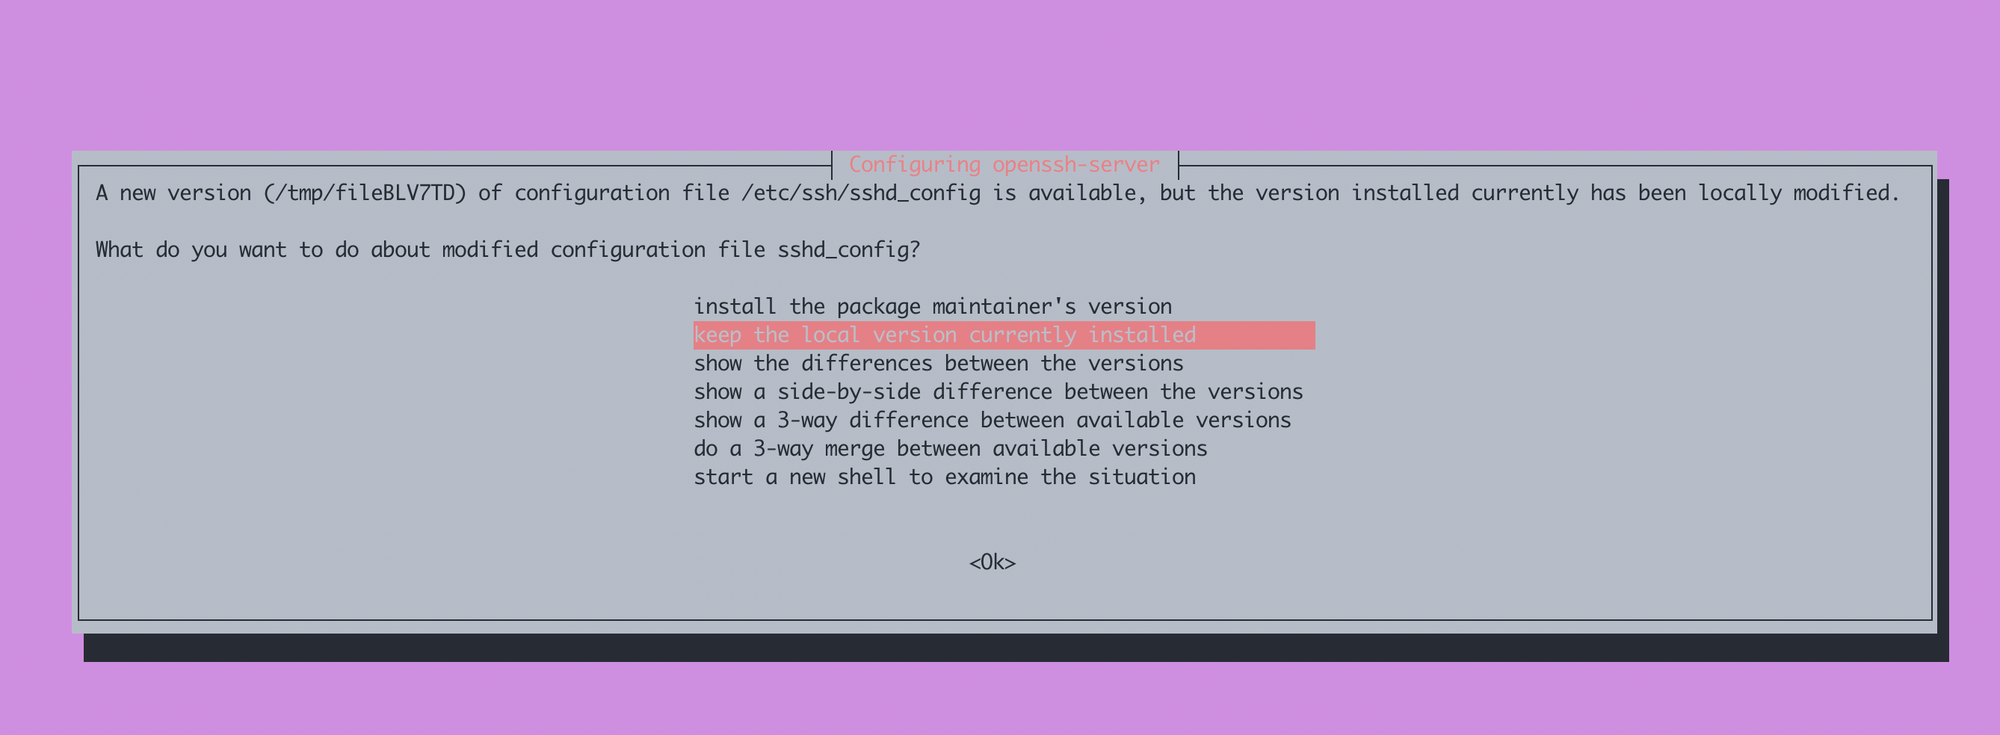
Select "keep the local version currently installed".
Common packages, dependencies, git, node, wget.
Let's run a big install of the commonly used tools on Linux and some dependencies needed later for our python installation.
apt install -y build-essential libssl-dev zlib1g-dev libbz2-dev \
libreadline-dev libsqlite3-dev wget curl llvm libncurses5-dev libncursesw5-dev \
xz-utils tk-dev libffi-dev liblzma-dev python-openssl git libpq-dev libsasl2-dev libldap2-dev ccze node-less bash-completion
Inside that list, you will notice commons Unix tools like bash-completion, ccze, curl, wget, git and, SSL requirements needed later.
Installing PostgreSQL 13
Version 13 of PostgreSQL is not directly available from Ubunto 20 so we have to add the package manually.
wget --quiet -O - https://www.postgresql.org/media/keys/ACCC4CF8.asc | apt-key add -Now that we have the key we add the repository
echo "deb http://apt.postgresql.org/pub/repos/apt/ `lsb_release -cs`-pgdg main" | tee /etc/apt/sources.list.d/pgdg.listNow we update packages and run the install of PostgreSQL 13
apt update
apt install -y postgresql-13 postgresql-client-13
Let's create a database user named odoo, this user will be the owner of the differents odoo databases we will create. To do that, we must connect as Postgres and run the interactive user creation prompt.
su - postgres
createuser --interactive -P odoo
With the --interactive flag, PostgreSQL will ask us for a password and the privileges that will be given to our odoo PostgreSQL user.
Enter password for new role:
Enter it again:
Shall the new role be a superuser? (y/n) n
Shall the new role be allowed to create databases? (y/n) y
Shall the new role be allowed to create more new roles? (y/n) n
Now we will create a new empty database that we will init later by launching odoo. This database will be named coding_dodo.
createdb -O odoo codingdodo_demo
exit
The -O flag represents the owner of the database, we choose odoo because it's the name of the PostgreSQL user we created just before.
wkhtmltopdf
wkhtmltopdf is used by Odoo to generate documents and is a necessary evil. We will pull the deb of version 0.12.6-2 from Github and install it
wget https://github.com/wkhtmltopdf/packaging/releases/download/0.12.6-1/wkhtmltox_0.12.6-1.bionic_amd64.deb
apt install ./wkhtmltox_0.12.6-1.bionic_amd64.deb -y
Creating the Unix odoo user
Let's create our odoo user that will have its own home folder, where we will store the odoo source.
useradd -m -U -r -s /bin/bash odoo-r indicate that it's a system account so useradd will not create a home directory for such a user. We want a folder so we use -m-U create a group and -s specify the shell that will be used.
Preparing the Python environment with Pyenv
We will use pyenv to manage multiple Python versions on our system. This is not necessary but if for some reason you would like to host a different Odoo version that requires a different Python version, by following these steps, it will not be a problem later.
Log in as the odoo user
pyenv will be installed as the odoo system user.
su - odooInstalling pyenv
curl https://pyenv.run | bashAdding pyenv python versions to the path is a necessary step for the whole system to work correctly:
echo -e 'if shopt -q login_shell; then' \
      '\n  export PYENV_ROOT="$HOME/.pyenv"' \
      '\n  export PATH="$PYENV_ROOT/bin:$PATH"' \
      '\n eval "$(pyenv init --path)"' \
      '\nfi' >> ~/.bashrc
echo -e 'if [ -z "$BASH_VERSION" ]; then'\
      '\n  export PYENV_ROOT="$HOME/.pyenv"'\
      '\n  export PATH="$PYENV_ROOT/bin:$PATH"'\
      '\n  eval "$(pyenv init --path)"'\
      '\nfi' >>~/.profile
Now log off and log in again as odoo user
exit
su - odoo
Installing python 3.9.2
pyenv install 3.9.2Depending on the CPU power you choose, it may take some time, but in the end, you should see:
Installed Python-3.9.2 to /home/odoo/.pyenv/versions/3.9.2Now type python --version as a sanity check for the python version, you should see this.
odoo@ubuntu-s-4vcpu-8gb-amd-blr1-01:~$ python --version
pyenv: python: command not found

The `python' command exists in these Python versions:
  3.9.2

Note: See 'pyenv help global' for tips on allowing both
      python2 and python3 to be found.
Python command is not available but the 3.9.2 version we just installed is present. If you can't see the newly installed python you should check the pyenv documentation here to make it available in your path via a different method than what we did earlier.
Creating the virtualenv
We can now create a virtualenv via the pyenv virtualenv command. We have to give the name of the python version 3.9.2 and the name we want to give to this new virtual environment
pyenv virtualenv 3.9.2 odoo-15-envVirtualenvs are a good way to keep your dependencies clean in their own space. It is generally good practice to not mess too much with the system python.
Installing Odoo from GitHub source
Creating a folder for our custom addons (Optional)
mkdir /home/odoo/odoo-15-custom-addonsThis is the folder you will use to store your custom addons. Be careful if you add the custom addon patch to the --addons-path command-line argument and there are no valid add-ons inside, it will not work.
To make it work we will clone our own module inside that folder
cd /home/odoo/odoo-15-custom-addons
git clone https://github.com/Coding-Dodo/web_widget_markdown.git
cd ~/
Pulling Odoo 15 and activating the virtualenv
We will pull Odoo version 15 with the -b flag for the branch and put it in a folder named odoo-15
git clone -b 15.0 --single-branch --depth 1 https://github.com/odoo/odoo.git odoo-15Since we created our virtualenv called odoo-15-env, we will "park" it in the odoo-15 folder we just created. With that done, every time we cd into this folder it will activate our virtualenv automatically.
cd odoo-15
pyenv local odoo-15-env
Do another sanity check by typing python --version you should now have that output:
odoo@ubuntu-s-4vcpu-8gb-amd-blr1-01:~/odoo-15$ python --version
Python 3.9.2
Installing python dependencies
pip install --upgrade pip
pip install setuptools wheel
pip install -r requirements.txt -e .
If you see any error please refer to the part "Common packages, dependencies..." and make sure you installed everything.
Launching Odoo for the first time to test and generate a config file
We will test launch Odoo with some command-line arguments that will be saved in our Odoo configuration file
./odoo-bin --database=codingdodo_demo --db_user=odoo --db_password=codingdodo -i base --without-demo=all --save -c /home/odoo/.odoorc_codingdodo_demo --stop-after-init
./odoo-bin --database=codingdodo_demo --db_user=odoo --db_password=codingdodo -i base --addons-path="/home/odoo/odoo-15/addons,/home/odoo/odoo-15-custom-addons" --without-demo=all --save -c /home/odoo/.odoorc_codingdodo_demo --stop-after-init
We directly typed the DB name, user, and password and initialized it with the i flag. --without-demo=all is used because we are installing a production-ready environment. If you want demo data, omit that flag.
With the -c flag we told Odoo where the config file will be /home/odoo/.odoorc_codingdodo_demo
The --save flag is used to save everything we just typed into the newly created config file.
Create the logs directory
We want our log files to be inside /var/log/odoo/ so we create that folder and give odoo user access to it.
exit
mkdir /var/log/odoo
touch /var/log/odoo/odoo-15.log
chown odoo: /var/log/odoo
chown -R odoo: /var/log/odoo/*
log back as odoo and edit the config file
su - odoo
vim /home/odoo/.odoorc_codingdodo_demo
Modify the config file to reflect that change
logfile = /var/log/odoo/odoo-15.logRunning Odoo as service
We would like to have Odoo available as a service so, log out of odoo user, and create a service file:
exit
vim /etc/systemd/system/odoo-15.service
You don't have to use vim to edit your file, but if you follow exactly the commands, to go into Insert mode press I, then copy that content via Ctrl + V (or Cmd + V)
[Unit]
Description=Odoo15
Requires=postgresql.service
After=network.target postgresql.service

[Service]
Type=simple
SyslogIdentifier=odoo-15
PermissionsStartOnly=true
User=odoo
Group=odoo
ExecStart=/home/odoo/.pyenv/versions/odoo-15-env/bin/python /home/odoo/odoo-15/odoo-bin -c /home/odoo/.odoorc_codingdodo_demo
StandardOutput=journal+console

[Install]
WantedBy=multi-user.target
If you are using vim press :wq to save and exit the file.
Now we Reload the service.
systemctl daemon-reload
systemctl enable --now odoo-15
Check status via systemctl status odoo-15 and you should see
systemctl status odoo-15
● odoo-15.service - Odoo15
     Loaded: loaded (/etc/systemd/system/odoo-15.service; enabled; vendor preset: enabled)
     Active: active (running) since Sat 2021-10-02 14:48:59 UTC; 9s ago
   Main PID: 58656 (python)
      Tasks: 4 (limit: 9513)
     Memory: 63.3M
     CGroup: /system.slice/odoo-15.service
             └─58656 /home/odoo/.pyenv/versions/odoo-15-env/bin/python /home/odoo/odoo-15/odoo-bin -c /home/odoo/.odoorc_codingdodo_demo

Oct 02 14:48:59 ubuntu-s-4vcpu-8gb-amd-blr1-01 systemd[1]: Started Odoo15.
Install Nginx and add SSL with Let's Encrypt
Installing Nginx
apt install nginx -yLet's Encrypt with Certbot
Certbot will be used to install our first certificate and to renew it every month
apt install certbot -yGenerate a new set of 2048 bit DH parameters by typing the following command:
sudo openssl dhparam -out /etc/ssl/certs/dhparam.pem 2048Let's Encrypt Nginx Snippet
Let's Encrypt needs to do its acme-challenge to validate our domain name and creating the certificate with Certbot. If we plan to install multiple instances / different domain names pointing to this server, it is a good habit to isolate the let's encrypt acme-challenge location to its custom snippet.
mkdir -p /var/lib/letsencrypt/.well-known
chgrp www-data /var/lib/letsencrypt
chmod g+s /var/lib/letsencrypt
We create a Let's Encrypt snippet
vim /etc/nginx/snippets/letsencrypt.confWith this content
location ^~ /.well-known/acme-challenge/ {
  allow all;
  root /var/lib/letsencrypt/;
  default_type "text/plain";
  try_files $uri =404;
}
SSL Conf Nginx Snippet
vim /etc/nginx/snippets/ssl.confCopy-paste that content
ssl_dhparam /etc/ssl/certs/dhparam.pem;

ssl_session_timeout 1d;
ssl_session_cache shared:SSL:10m;
ssl_session_tickets off;

ssl_protocols TLSv1.2 TLSv1.3;
ssl_ciphers ECDHE-ECDSA-AES128-GCM-SHA256:ECDHE-RSA-AES128-GCM-SHA256:ECDHE-ECDSA-AES256-GCM-SHA384:ECDHE-RSA-AES256-GCM-SHA384:ECDHE-ECDSA-CHACHA20-POLY1305:ECDHE-RSA-CHACHA20-POLY1305:DHE-RSA-AES128-GCM-SHA256:DHE-RSA-AES256-GCM-SHA384;
ssl_prefer_server_ciphers on;

ssl_stapling on;
ssl_stapling_verify on;
resolver 8.8.8.8 8.8.4.4 valid=300s;
resolver_timeout 30s;

add_header Strict-Transport-Security "max-age=31536000; includeSubDomains" always;
add_header X-Frame-Options SAMEORIGIN;
add_header X-Content-Type-Options nosniff;
Create A Record with your DNS Provider pointing to the Droplet IP
For the following parts, you must have a domain name that will point to your DigitalOcean droplet, or else the acme-challenge of Let's Encrypt will fail.
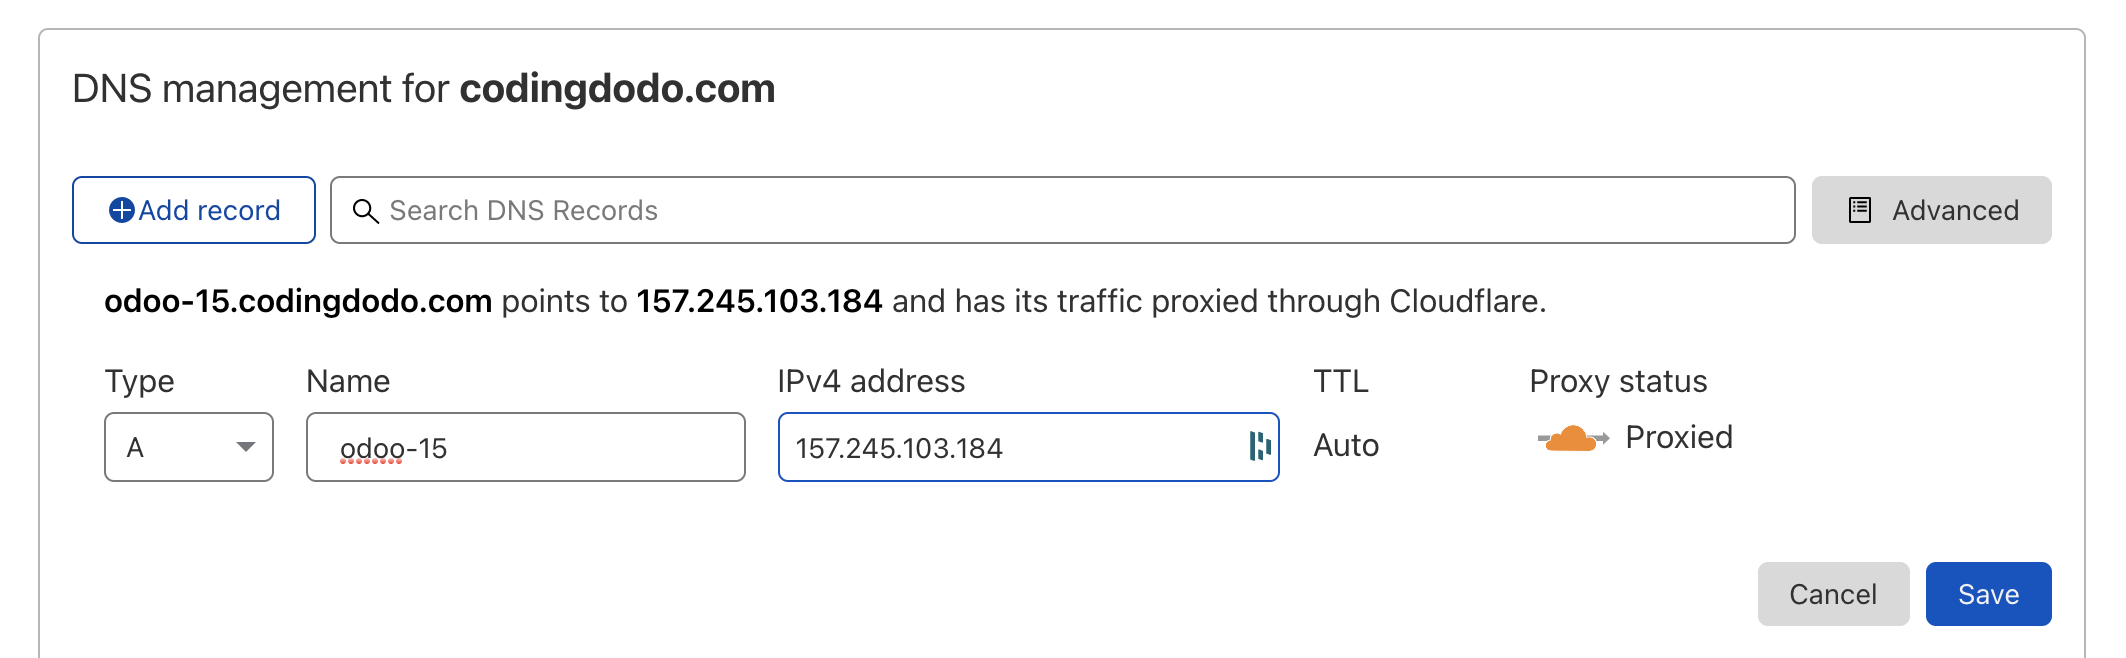
Here we created a subdomain of codingdodo.com with an A record pointing to our Droplet IP Value.
Our final address will be odoo-15.codingdodo.com
Installing the Let's Encrypt certificate
In case the Odoo service is still running.
service odoo-15 stopBasic Nginx Conf file to pass the Certbot acme-challenge
cd /etc/nginx/sites-available
vim odoo-15.codingdodo.com
We will first create a basic Nginx conf file to pass Certbot acme-challenge:
upstream odoo_15 {
 server 127.0.0.1:8069;
}

upstream odoochat_15 {
 server 127.0.0.1:8072;
}

server {
    listen      80;
    listen [::]:80;
    server_name odoo-15.codingdodo.com;
    include snippets/letsencrypt.conf;
}
Symlink your site declaration from site-available to site-enabled.
ln -s /etc/nginx/sites-available/odoo-15.codingdodo.com /etc/nginx/sites-enabled/odoo-15.codingdodo.comAlways test the config with nginx -t and if everything is okay we reload Nginx
service nginx reloadCertbot acme-challenge
It is now time to create our SSL certificate.
certbot certonly --agree-tos --email [email protected] --webroot -w /var/lib/letsencrypt/ -d odoo-15.codingdodo.comYou should see
 - Congratulations! Your certificate and chain have been saved at:
   /etc/letsencrypt/live/odoo-15.codingdodo.com/fullchain.pem
Managing Auto renew
Let's Encrypt already created a cron in the crontab but Nginx needs to reload to take into consideration the new certificate so we will edit this file
vim /etc/letsencrypt/cli.iniAnd add the line at the end.
deploy-hook = systemctl reload nginxTo test if our renew will work we can use the --dry-run flag to test it
certbot renew --dry-runFinal Nginx site conf for proxy mode multi workers
Now edit the odoo-15.codingdodo.com file again:
vim /etc/nginx/sites-available/odoo-15.codingdodo.comupstream odoo_15 {
server 127.0.0.1:8069;
}
upstream odoochat_15 {
server 127.0.0.1:8072;
}
server {
listen 80;
listen [::]:80;
server_name odoo-15.codingdodo.com;
include snippets/letsencrypt.conf;
location / {
return 301 https://odoo-15.codingdodo.com$request_uri;
}
}
server {
listen 443 ssl http2 default_server;
listen [::]:443;
server_name odoo-15.codingdodo.com ;
ssl_certificate /etc/letsencrypt/live/odoo-15.codingdodo.com/fullchain.pem;
ssl_certificate_key /etc/letsencrypt/live/odoo-15.codingdodo.com/privkey.pem;
ssl_trusted_certificate /etc/letsencrypt/live/odoo-15.codingdodo.com/chain.pem;
include snippets/ssl.conf;
include snippets/letsencrypt.conf;
proxy_buffers 16 64k;
proxy_buffer_size 128k;
proxy_set_header X-Forwarded-Host $host;
proxy_set_header X-Forwarded-For $proxy_add_x_forwarded_for;
proxy_set_header X-Forwarded-Proto $scheme;
proxy_set_header X-Real-IP $remote_addr;
proxy_set_header X-Odoo-dbfilter "codingdodo_demo";
proxy_next_upstream error timeout invalid_header http_500 http_502 http_503 http_504;
location / {
proxy_pass http://odoo_15;
}
location /longpolling {
proxy_pass http://odoochat_15;
}
location ~* /web/static/ {
proxy_cache_valid 200 60m;
proxy_buffering on;
expires 864000;
proxy_pass http://odoo_15;
}
location ~* /website/image/ir.attachment/ {
proxy_cache_valid 200 60m;
proxy_buffering on;
expires 864000;
proxy_pass http://odoo_15;
}
gzip_types text/css text/less text/plain text/xml application/xml application/json application/javascript;
gzip on;
}
Use nginx -t to test the new config, you should see:
root@ubuntu-s-4vcpu-8gb-amd-blr1-01:/etc/nginx/sites-available# nginx -t
nginx: the configuration file /etc/nginx/nginx.conf syntax is ok
nginx: configuration file /etc/nginx/nginx.conf test is successful
Now you can reload Nginx.
service nginx reloadUpdating the Odoo config file
vim /home/odoo/.odoorc_codingdodo_demoNow that we have our reverse proxy we need to modify/add these lines
proxy_mode = True
workers = 4
max_cron_threads = 1
limit_memory_hard = 2684354560
limit_memory_soft = 2147483648
limit_request = 8192
limit_time_cpu = 600
limit_time_real = 1200
The number of workers depends on the RAM and CPU you choose during the creation of your droplet. Refer to this official documentation to calculate the appropriate number of workers.
- Server with 2 CPU, 4 Thread
- 30 concurrent users
- 30 users / 6 = 5 <- theorical number of worker needed
- (2 * 2) + 1 = 5 <- theorical maximal number of worker
- We’ll use 4 workers + 1 for cron.
- RAM = 9 * ((0.8*150) + (0.2*1024)) ~= 3Go RAM for Odoo
Restart Odoo and see logs
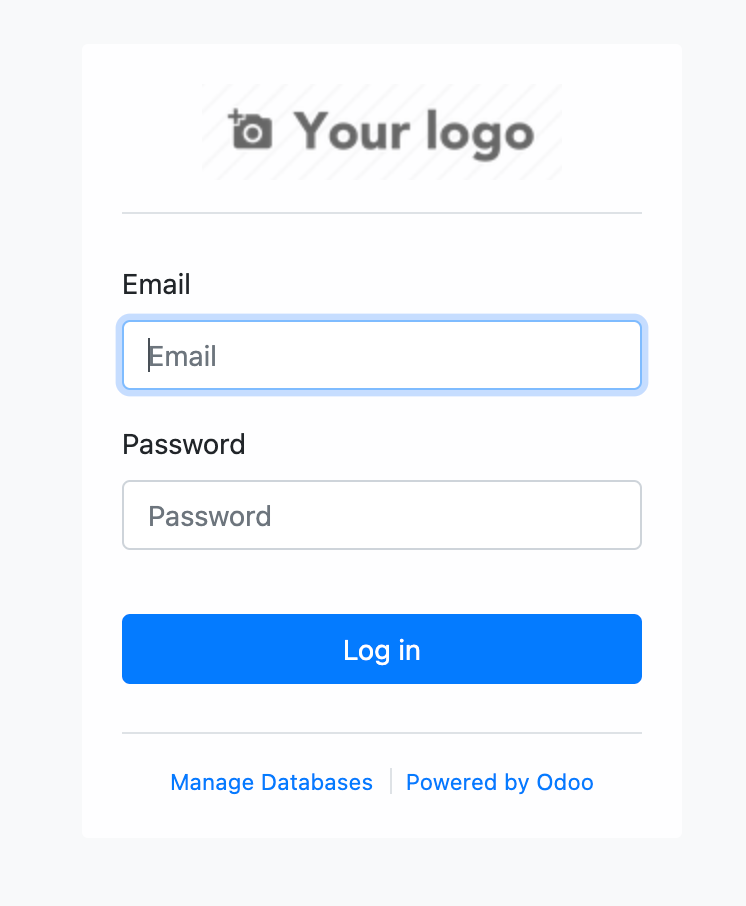
service odoo-15 restartGo to https://odoo-15.codingdodo.com and in the meantime on the server check the logs
tail -f /var/log/odoo/odoo-15.log | cczeIn your browser access your domain name, you should see the login screen :
Setting the Firewall
Let's add some security!
ufw app listIf you followed this guide it should show you :
Available applications:
  Nginx Full
  Nginx HTTP
  Nginx HTTPS
  OpenSSH
First, we secure ssh connection
ufw allow OpenSSHNow if you have installed Nginx with an SSL certificate
ufw allow 'Nginx Full'
ufw enable
The last line will ask you to confirm, enter y
Command may disrupt existing ssh connections. Proceed with operation (y|n)? y
Firewall is active and enabled on system startup
Create a sudo user for day to day actions
adduser codingdodoAnswer the prompt questions:
Changing the user information for codingdodo
Enter the new value, or press ENTER for the default
	Full Name []: CodingDodo
	Room Number []:
	Work Phone []:
	Home Phone []:
	Other []:
Is the information correct? [Y/n] Y
Now we update the rights for that user.
usermod -aG sudo codingdodorsync --archive --chown=codingdodo:codingdodo ~/.ssh /home/codingdodoWith DigitalOcean we already uploaded our ssh-key to the authorized_keys of the root so we are using Rsync to copy the folder with a new owner.
Updating Odoo 15 sources from git
In this configuration you have full control over the source code used on your Odoo production environment, it's then your duty to also update it. To do so, you will have to stop Odoo service, for maximum stability during updates. So warn your customer that the maintenance will be ongoing and access to the application will be interrupted. After stopping we will pull the GitHub repo, update all modules and restart the instance.
After SSH-ing into your machine, stop odoo service
service odoo-15 stopThen we su into the odoo user to pull the sources and do the update.
su - odoo
cd /home/odoo/odoo-15
git pull
When the pull is done let's update all modules
./odoo-bin --database=codingdodo_demo -c /home/odoo/.odoorc_codingdodo_demo --update=all --stop-after-initThis will take some time depending on the number of modules you installed. When it is done, exit and restart odoo:
exit
service odoo-15 restart
Wrapping up
This is the final Odoo config file
[options]
addons_path = /home/odoo/odoo-15/addons,/home/odoo/odoo-15-custom-addons
admin_passwd = $pbkdf2-sha512$25000$TwkBoDRGqBUi5LyXMiaE8A$SUyyCVfU1jk0YqiuTbHqVNmT31jw33fyh6tLMkA6t6lLSKpbnutYuQ.dVwQ2wIgWs2hf1OQmhNcHR9ofqGtSFg
csv_internal_sep = ,
data_dir = /home/odoo/.local/share/Odoo
db_host = False
db_maxconn = 64
db_name = codingdodo_demo
db_password = codingdodo
db_port = False
db_sslmode = prefer
db_template = template0
db_user = odoo
dbfilter =
demo = {}
email_from = False
geoip_database = /usr/share/GeoIP/GeoLite2-City.mmdb
http_enable = True
http_interface =
http_port = 8069
import_partial =
limit_memory_hard = 2684354560
limit_memory_soft = 2147483648
limit_request = 8192
limit_time_cpu = 60
limit_time_real = 120
limit_time_real_cron = -1
list_db = False
log_db = False
log_db_level = warning
log_handler = :INFO
log_level = info
logfile = /var/log/odoo/odoo-15.log
longpolling_port = 8072
max_cron_threads = 2
osv_memory_age_limit = False
osv_memory_count_limit = False
pg_path =
pidfile =
proxy_mode = True
reportgz = False
screencasts =
screenshots = /tmp/odoo_tests
server_wide_modules = base,web
smtp_password = False
smtp_port = 25
smtp_server = localhost
smtp_ssl = False
smtp_user = False
syslog = False
test_enable = False
test_file =
test_tags = None
transient_age_limit = 1.0
translate_modules = ['all']
unaccent = False
upgrade_path =
without_demo = all
workers = 2
Wrapping up.
That's it for our Odoo 15 install on DigitalOcean. The cool thing with this platform is that you are only billed for as long as the droplet is up. So if you just want to create a quick proof of concept and spin up a good server this is a good way to do it. If this article was helpful to you please consider becoming a member for future updates ? and keep in touch by following me on Twitter.
- For the Odoo 14 Version (Install and deploy Odoo 14 from source on DigitalOcean)
- OWL in Odoo 14 - How to extend and patch existing OWL Components.